Aug 19, 2025
Recurring Countdown Timer & Wait Time Explained — Run Weekly Promotions, Set Up Once
We often hear from business owners and marketers that managing recurring promotions feels like busywork: recreate the same timer, update dates, and risk human error. In this guide, we explain how to set up and use a recurring countdown timer with a wait time so you can run weekly (or recurring) promotions with one setup and minimal maintenance. We’ll walk through each configuration option, provide real-life examples, highlight best practices, and answer common questions so your team can save time and deliver consistent, professional campaigns.
Table of Contents
- Why use a recurring countdown timer?
- Overview: How a recurring countdown timer works
- Step-by-step setup: Create a weekly recurring promotion
- Practical examples
- Important details and platform behavior
- Deciding whether to show or hide the timer during wait state
- Best practices and tips
- Troubleshooting common issues
- How this saves time and reduces tech headaches
- FAQ
- Real feedback from teams who used recurring timers
- Final checklist before going live
- Conclusion
- Next steps
Why use a recurring countdown timer?
Countdown timers are powerful because they create urgency and focus attention. A recurring countdown timer multiplies that value by automating the reset process. Instead of creating a new timer for every event—every week, every day, or every month—we set it up once and let the system handle the recurring cycles.
Use cases include:
- Weekly webinars or training sessions with limited-time enrollment.
- Retail promotions for perishable items (think Friday afternoon clearance for leftover vegetables).
- Weekly flash sales, limited-service booking windows, or recurring limited-time offers.
- Daily deal resets, where the same offer appears every day at the same time.
- Time-sensitive campaigns for membership renewals or weekly coaching calls.
With one reliable setup, we reduce repetitive work, eliminate scheduling errors, and keep the customer experience consistent. That alone helps teams focus on other priorities—creating better offers, improving product pages, or nurturing leads—rather than juggling calendar entries.
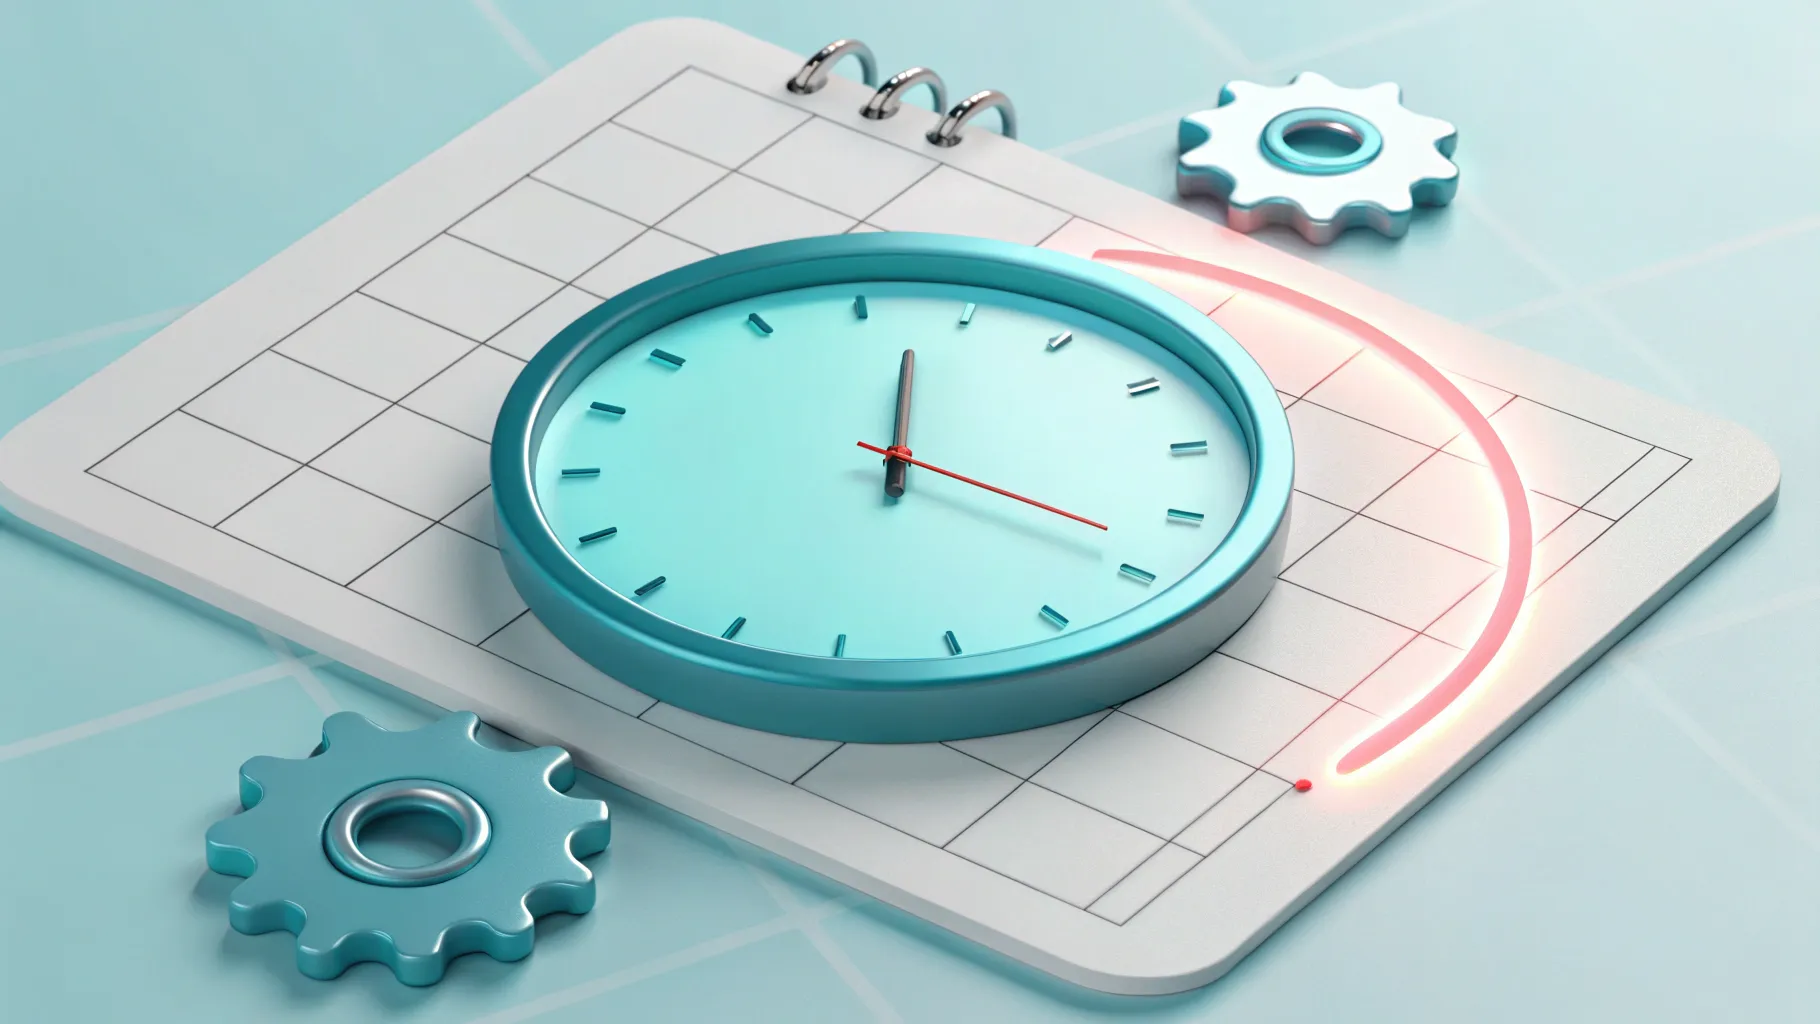
Overview: How a recurring countdown timer works
At its core, a recurring countdown timer has three states that matter:
- Active state: The timer counts down toward the event’s end and invites users to act now.
- Expired state: The timer reached zero and can redirect users to a message or page explaining the event has ended.
- Wait state: The period between cycles when the timer is not active, which allows you to prepare for the next cycle without showing misleading countdowns to visitors.
When configured correctly, the timer repeats based on a loop schedule (for example, every 7 days for a weekly event) and runs for a defined duration each cycle (for example, 4 hours on Friday). During the wait state, you choose whether the timer appears on-site, or whether visitors are redirected to an expiry or placeholder page.
Step-by-step setup: Create a weekly recurring promotion
Below is a practical, step-by-step approach to setting up a recurring countdown timer for a weekly promotion. Follow each step, and refer to the examples for context.
1. Create a new countdown timer
Start by creating a new timer within your platform’s marketing or countdown timer area. Pick a clear name that describes the recurring event so your team can find it later. Example name: Weekly Friday Clearance — Vegetables.
2. Choose “recurring” or “repeating” mode
Select the recurring option so the timer will reset automatically according to your schedule. This is the key to “set once” and forget it behavior. Recurring mode exposes options like start date, loop frequency, duration, and wait time.
3. Set the start date and time
Choose the next occurrence’s start date and time. For the vegetable example, if the weekly sale starts on a Friday at 3:00 PM, pick that date/time as the first cycle’s start.
- Example: Start date — Friday, August 8 at 3:00 PM
- Example: Time zone — select your local time zone to ensure the timer reflects your business hours correctly.
4. Define the loop frequency (how often the event repeats)
The loop frequency determines how often the timer resets. For weekly events, choose “every 7 days” or “weekly.” For daily events, choose “daily,” and for monthly events, choose “monthly.”
- Example: Weekly sale — loop every 7 days.
- Example: If you plan to run the promotion for a year, set the loop count to 52. If you want it to run indefinitely, check whether your platform allows “unlimited” cycles or leave it active until you manually archive it.
5. Set the countdown duration (how long each cycle lasts)
Decide how long the sale should remain active during each cycle. Duration defines the active window of the event.
- Example: We sell leftover vegetables from 3:00 PM to 7:00 PM every Friday — set duration to 4 hours.
- For a webinar that opens at 6:00 PM and runs for 90 minutes, set duration accordingly (1.5 hours).
6. Configure the wait time (how long before the next cycle starts)
Wait time is the gap between the end of the current cycle and the start of the next one. This is important for recurring events so that visitors don’t see a timer counting down to the next run while you aren’t running one immediately.
- Example: Weekly event — wait time = 7 days (the next Friday).
- Example: Daily deal — wait time = 1 day (24 hours) until the next reset.
The wait time effectively avoids showing a timer in a misleading state. If wait time is 7 days and duration is 4 hours, the timer will be active for 4 hours, then enter a 7-day wait where you can choose whether to display anything on-site.
7. Decide how the timer behaves on-site during wait state
Platforms often offer a toggle for how the timer behaves on your website or funnel during the wait period. You can either:
- Show the timer in a zero state (some visitors may see “00:00:00” if the wait state is not hidden), or
- Hide the timer entirely and optionally redirect visitors who interact with the timer to an expiry or “check back soon” page.
We recommend hiding the timer on public pages during the wait state and using a clear expired message or a redirect page explaining when the next cycle starts. That avoids confusion and keeps your messaging honest.
8. Configure click behavior for active and expired states
Decide where users should land when they click the timer, depending on whether it’s active or expired.
- Active timer link: send users to the shop, webinar registration, booking calendar, or sales page where they can take action now.
- Expired timer link: send users to a friendly message that explains the event is over and tells them when the next event starts (for example: “This sale ended — check back next Friday at 3 PM”).
This small detail improves the user experience and reduces support inquiries from confused visitors.
9. Review the summary and save
Before saving, check the summary shown by the platform. The summary should list:
- Start date and time for the first cycle
- Duration for each cycle
- Wait time until the next cycle
- How many cycles (loop events) are set
- Time zone
Once everything looks right, save the timer and copy the embed code or link provided for use in emails, funnels, and on-site placements.
Practical examples
Example 1 — Weekly in-person clearance sale
We run a small grocery stall that sells fresh vegetables Monday through Friday. On Friday afternoons, we hold a clearance sale for unsold produce between 3:00 PM and 7:00 PM to minimize waste. Instead of creating a new timer every week, we:
- Create a recurring timer starting on the next Friday at 3:00 PM
- Set duration to 4 hours
- Set wait time to 7 days
- Loop for 52 weeks (or leave unlimited until we stop)
- Link the active timer to the product page showcasing discounted vegetables
- Link the expired timer to a friendly note: “Sorry — the Friday clearance ended. See you next Friday at 3 PM!”
Result: We only configure the timer once, and our website and email campaigns always show an accurate countdown when the sale is live.
Example 2 — Weekly webinar registration
If we run a weekly webinar every Tuesday at 6:00 PM and registrations close when the webinar starts, we:
- Set the timer to start on the next Tuesday at 4:30 PM (if we want the registration window open for 90 minutes)
- Set the duration to 90 minutes
- Set wait time to 7 days
- Choose to show an expiry message during the wait period that includes the date/time of the next webinar and a registration link (if registration is open)
Result: The registration timer resets each week automagically, and email timers display accurate time remaining in real time when recipients open the email.
Important details and platform behavior
There are a few key platform behaviors we should note so expectations match reality:
- Email timers refresh at open: When we add the timer to an email, the image or timer will refresh using real-time data when the recipient opens the message. Cached emails won’t display stale countdown values.
- Wait period is only available for recurring timers: Single-run timers do not have a wait state because they are not repeating events.
- Edit behavior: If we edit the wait time or other settings after the timer has started, changes will not affect the current active cycle. Edits apply to subsequent cycles only. This prevents mid-cycle confusion.
- Unlimited cycles: Many platforms allow unlimited cycles until we delete or archive the timer, saving us from needing to reconfigure recurring promotions for long-term campaigns.
Deciding whether to show or hide the timer during wait state
Display choices during the wait state influence the clarity of our messaging and conversion rates. Consider these factors when choosing which behavior to enable:
- Hide timer: Use this when the off-cycle period would confuse customers, or when the wait window is long (days). Hide the timer and replace it with an expiry or “next event” message.
- Show zero-state timer: Acceptable when the wait period is short or when you want to show exactly how long until the next event starts. Be careful with this option—seeing a zero timer can look broken if the visitor doesn't understand the schedule.
- Redirect clicks during wait state: Redirecting users who click an inactive timer to an expiry page allows clear communication and a chance to capture interest (for example, a “notify me” form for the next cycle).
For most recurring promotions, hiding the timer during wait state and using a helpful expired message or redirect reduces confusion and improves user experience.
Best practices and tips
To get the most from recurring countdown timers, follow these practical tips:
- Name things clearly: Use descriptive names like “Friday Clearance — 3–7 PM” so team members know the purpose without opening the timer settings.
- Use time zones consistently: Always set a time zone in the timer configuration to match your audience or business location so local times don’t confuse users.
- Test Embedded Timers: After placing timers in emails and on funnels, test by opening emails at different times and previewing pages to confirm the behavior is as expected.
- Set realistic loop counts: If running a short-term pilot, set the loop to the number of weeks you expect the pilot to run. If running long-term, leave it unlimited and archive when finished.
- Schedule content around timer states: Update sales pages, inventory, and support messaging to align with the timer’s active and expired states to avoid mismatch between promises and availability.
- Offer a next-step on expiry pages: When the timer expires, tell users when the next cycle occurs and provide an option to register for updates—this keeps interest warm and builds a repeatable audience.
Troubleshooting common issues
If the timer doesn’t behave as expected, here are quick checks we perform:
- Wrong time zone: Confirm the timer’s time zone matches your intended audience or business location.
- Incorrect start date: Make sure the first cycle’s start date and time are set correctly—mistakes here will throw off every cycle.
- Loop count set too low: If the timer stops after a few cycles, update the loop count or set it to unlimited.
- Edits not applying: Remember that edits apply to future cycles only. To change the current cycle, consider creating a new timer or temporarily pausing the campaign.
- Email caching concerns: Emails refresh timers on open. If an email recipient sees stale values, confirm the platform supports server-side refresh for emailed timers.
How this saves time and reduces tech headaches
Recurring countdown timers are practical automation that directly reduces manual workload:
- Configure once: We set the timer up a single time, then it repeats automatically according to our schedule.
- Consistency: Every cycle looks and behaves the same, reducing mistakes caused by manual reconfiguration.
- Less coordination: No need to remind team members to update the countdown in emails or funnels—fewer last-minute emergencies.
- Better customer experience: Customers see accurate countdowns in emails when they open them and consistent behavior on the site.
- Reduces support load: Clear expiry pages and redirect behavior lower the number of “why is this not working?” inquiries.
FAQ
What is the difference between duration and wait time?
Duration is how long each active cycle runs (for example, 4 hours). Wait time is the gap between the end of a cycle and the start of the next cycle (for example, 7 days between weekly events). Combined, they define the cadence of each cycle.
Can we edit a timer after it has started?
Yes. Edits are allowed, but changes will not affect the current active cycle. Any edits will apply to subsequent cycles only. This behavior prevents mid-cycle confusion and keeps the current user experience stable.
Will email timers show the correct time when recipients open the message?
Yes. Timers embedded in emails typically refresh in real time when the recipient opens the email so recipients see current values rather than cached images. This keeps email countdowns accurate and reliable.
Should we hide the timer during the wait state or show a zero-state timer?
We generally recommend hiding the timer during longer wait states and using a friendly expired message or redirect. Hiding avoids confusion. Zero-state timers can appear broken or confusing unless the wait period is very short and obvious to visitors.
How many times can a recurring timer loop?
Many platforms allow unlimited cycles until you archive the timer. If you want a controlled campaign, set a specific loop count—such as 4 weeks for a short promotion, or 52 for a year-long weekly event.
Can we use recurring timers for daily events?
Yes. Set the loop frequency to daily and the wait time to 1 day if you want the timer to reset every 24 hours. Adjust duration and start time based on your daily window.
What happens when someone clicks an expired timer?
You can configure click behavior for both active and expired states. For expired timers, redirect to a friendly message that explains when the next cycle starts and offers an option to register or be notified. This turns a lost sale into an opportunity to capture interest for the next cycle.
Real feedback from teams who used recurring timers
"Setting up our Friday clearance timer once saved us weekly setup time and stopped the confusion on our website. Customers now see accurate sale windows, and our team no longer scrambles on Friday afternoons." — Local grocer
"We used the recurring timer for weekly workshops. The email countdowns were always accurate when attendees opened messages, and our registration rate improved because fewer people missed the start time." — Training organizer
These testimonials highlight practical gains: time saved, fewer errors, and a cleaner customer experience. Small daily improvements like this compound into real operational efficiency.
Final checklist before going live
- Name the timer clearly so your team recognizes its purpose.
- Set the correct start date and time zone.
- Confirm duration and wait time reflect your real-world schedule.
- Decide whether the timer should be hidden during the wait state and set redirection URLs for active and expired clicks.
- Test the timer in an email and on the site to confirm real-time behavior.
- Set an appropriate loop count or leave unlimited and note when to archive it.
Conclusion
Recurring countdown timers with wait times are an efficient, low-maintenance way to run regular promotions, webinars, or limited-time offers. They let us set the cadence once and trust the system to reset cycles, freeing the team to focus on promotion strategy, inventory, or customer support rather than repetitive setup. By clearly configuring start times, durations, wait periods, and on-click behavior, we ensure a smooth customer experience and consistent messaging across emails and websites.
This is a straightforward tool that reduces tech headaches and saves time—especially valuable for small business owners and busy teams who need predictable, repeatable systems. When we pair clear naming, consistent time zones, thoughtful wait-state handling, and purposeful expired messaging, recurring timers become a reliable backbone for weekly campaigns and recurring events.
Next steps
If you haven’t already, try setting up a single recurring timer for a small test promotion. Use a clear name, set it for a short test window (for example, one week), and observe how emails and web pages display the timer. Track the time your team saves and the clarity of communication with customers. Once you’re confident, expand to other recurring offers and standardize how your team names and manages these timers.
We’re here to help you streamline recurring promotions and reduce manual tasks. Use the checklist above as your template for every recurring campaign and watch the operational benefits add up.


Nexus Hub HighLevel Blog
Nexus Hub is your go-to resource for CRM strategies, marketing automation tips, and growth tactics to help you capture leads, convert customers, and scale smarter.